

Tips for Decanting Food
Decanting food isn't for everyone and that's okay! But for me personally, it's made a huge difference in how I keep my kitchen organised and easy to maintain. Being able to clearly see what I have at a glance not only makes every day cooking simpler, but it also helps reduce waste and prevents food from getting lost or forgotten at the back of the press.
If you’re thinking about trying it, here are some simple tips to help you get started!
1. Choose the Right Containers
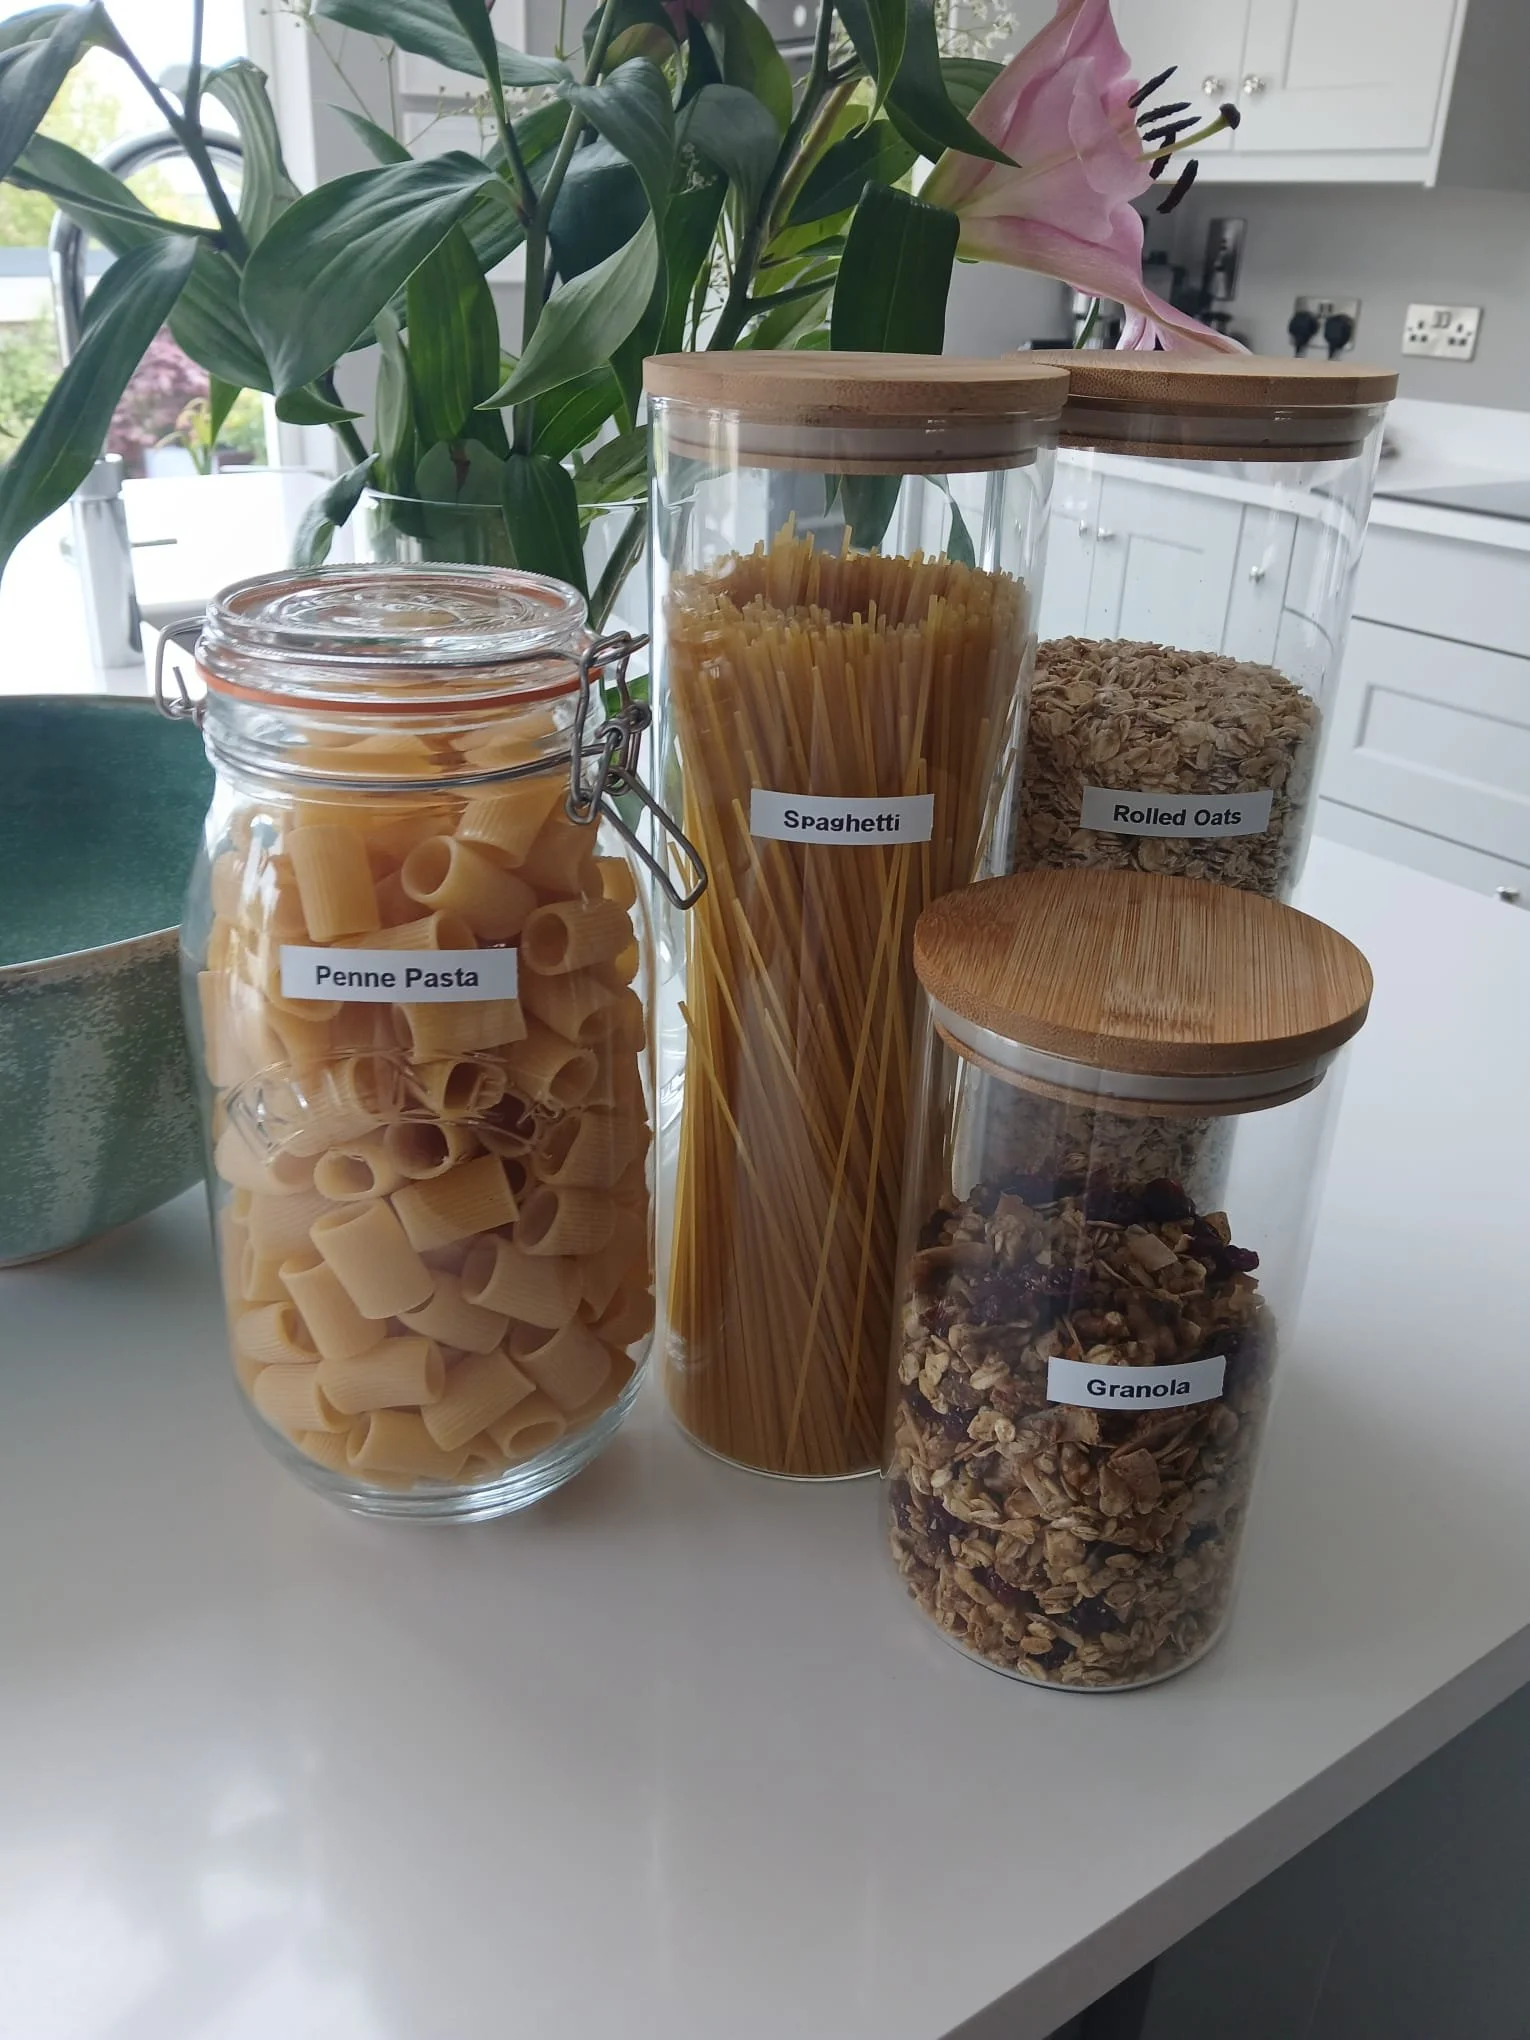
Start with good quality, clear, airtight containers. Clear containers allow you to instantly see what's inside without opening everything. You need the airtight lids to help keep food fresh longer. Glass jars, BPA-free plastic containers, or even upcycled jars from the supermarket all work well. You don’t have to spend a fortune, you can build your collection slowly.
2. Label Everything
Labelling is essential, especially if you have many different types of sugars or flours. Use a label maker, printed stickers, or even simple handwritten stickers. Make sure to include the name of the food and, if needed, the expiry date (especially for baking ingredients or nuts).
Tip: I add labels to the bottom of my jar and add the expiry date that is on the packaging or if it is homemade, I add the date I made it.
3. Match Container Size to Food Type
Tall jars are great for spaghetti, linguine and other long pasta.
Small containers are better for things like seeds, nuts, or baking powder.
4. Rotate your Food
One habit I swear by: always rotate your stock when decanting. Before topping up a jar, I empty the current food into a bowl. I then pour the new food into the bottom of the jar and place the older stock back on top.
This helps use up older items first and keeps everything fresh.
5. Keep a Basket/Container for Overflow Items
For any overflow, like extra packs of pasta, cereal or unopened baking items, I have an extra container at the back of the press. This way, my main jars stay tidy and I know exactly where to grab extras when needed. It also means my shelves aren’t overloaded with too many of the same item, making the space feel lighter and easier to manage. Personally, I don’t over buy, so my basket for extras is small.
6. Decant as soon as you shop
It’s easy to let packets pile up, but I try to decant foods straight after I’ve done the shopping.
It only takes a few minutes and stops clutter before it builds up. With my food decanted, it helps make it easier to double check what I already have before I shop, reducing the risk of buying things I don’t need.
7. Use a Funnel
For things like flour, rice, sugar, or tiny seeds, a simple kitchen funnel is super handy. It makes transferring foods quicker and much less messy, especially when working with big bags or small containers.
8. Start Small and Build Your Collection Over Time
You don't need to completely overhaul your presses or pantry in one day. I started by decanting just a few everyday items, like pasta, cereal, and flour and gradually added more as I found what worked best. Use what you already have too.
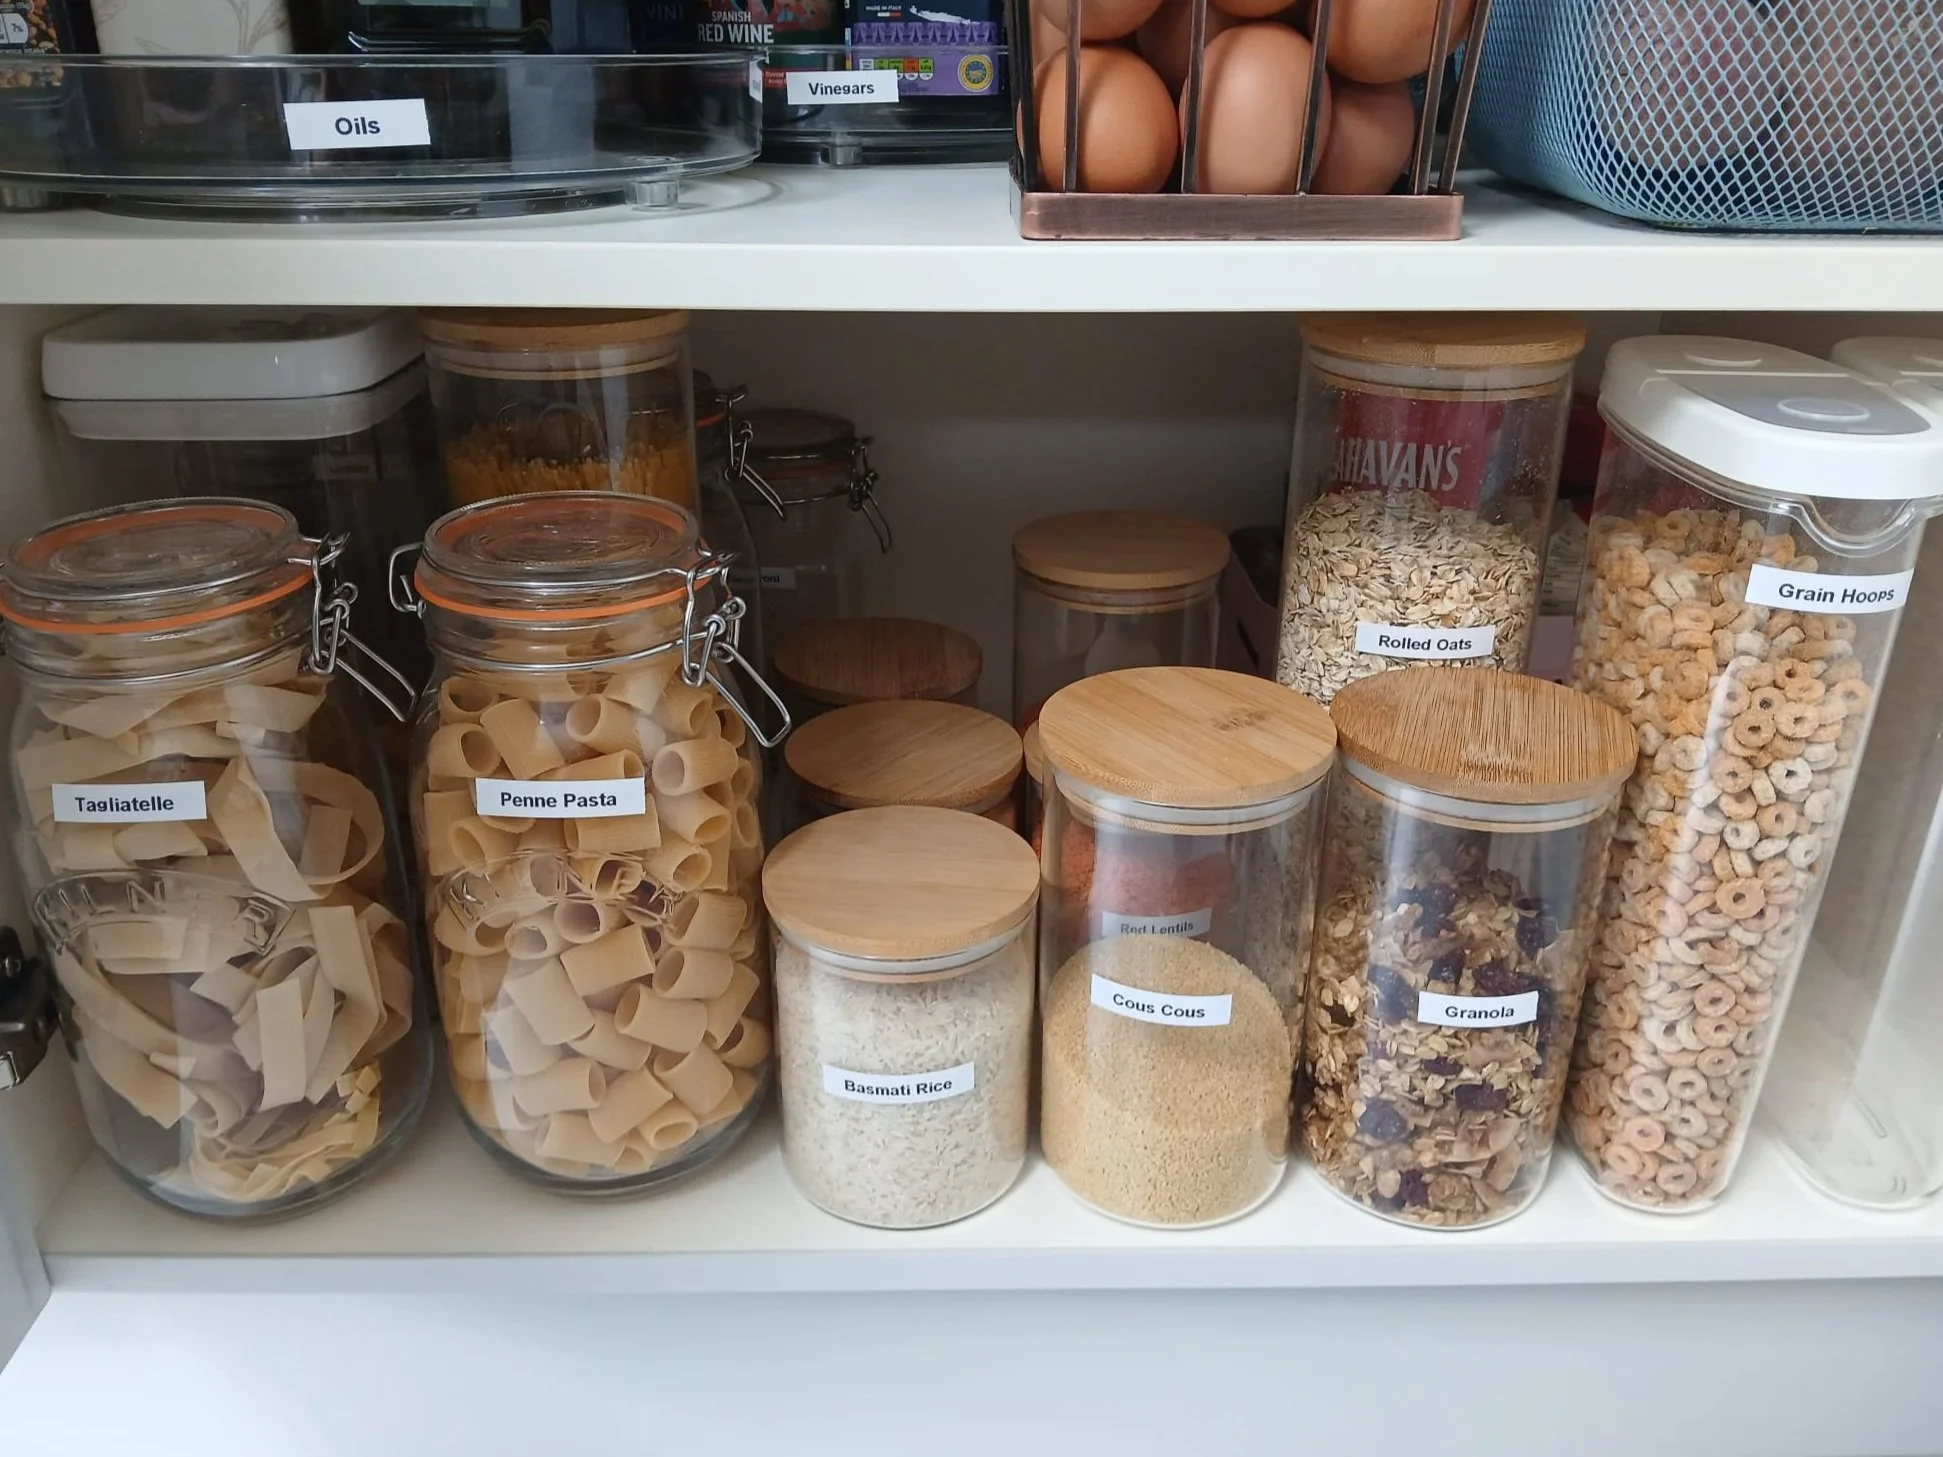
9. Store Like with Like
Grouping similar items together, baking supplies in one area, cereals in another, snacks over there etc. makes it so much quicker to find what you need. This also keeps your system easy to maintain over time.

Use a label on the bottom of the jar to write the package expiry date, or the date the item was made, if the food item is homemade.
At the end of the day, decanting isn’t about perfection, it’s about creating a system that works for you.
For me though, it brings a sense of calm, reduces waste and makes every day cooking feel easier and more enjoyable.
Even a few small changes can make a big difference! I hope you find these organising tips useful. |
However, if it all seems like too much work and you would like our help getting your kitchen in order, get in touch and let’s get OrganiseD together!
OrganiseD is a Tipperary based decluttering & organising business, you can follow me by clicking the links below.